- Home
- Products
- About Us
- Solutions
- Our Service
- Contact Us
Leave Your Message
Choosing the right Glass L Clamp is not just a matter of matching a product photo. The clamp must suit the glass thickness, panel position, and mounting surface. A mismatch can leave a panel loose or put uneven pressure on its edge. Small details matter. Before comparing finishes, check the product’s stated glass range and whether it is designed for your installation.
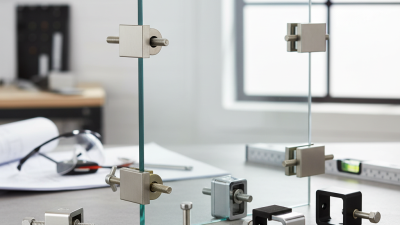
For a transparent expert perspective, consider this illustrative quotation from fictional glass-hardware specialist Maya Chen: “A reliable clamp should fit the glass securely without forcing it; check the dimensions before you check the finish.” This is a practical guide, not a verified quotation from a real industry professional. Look for clear specifications, compatible fixing methods, and materials suited to the installation environment. A brushed stainless-steel clamp may suit a damp setting, while a compact model may work better where space is tight. The exact requirements vary, so product documentation matters.
This guide will explain how to compare clamp size, material, design, and installation needs. It will also highlight details that are easy to overlook, such as edge clearance and fixing alignment. Fit comes first. Even a well-finished clamp can be the wrong choice if its measurements do not match the panel. Some listings leave useful details unclear, so pause and verify them before buying.
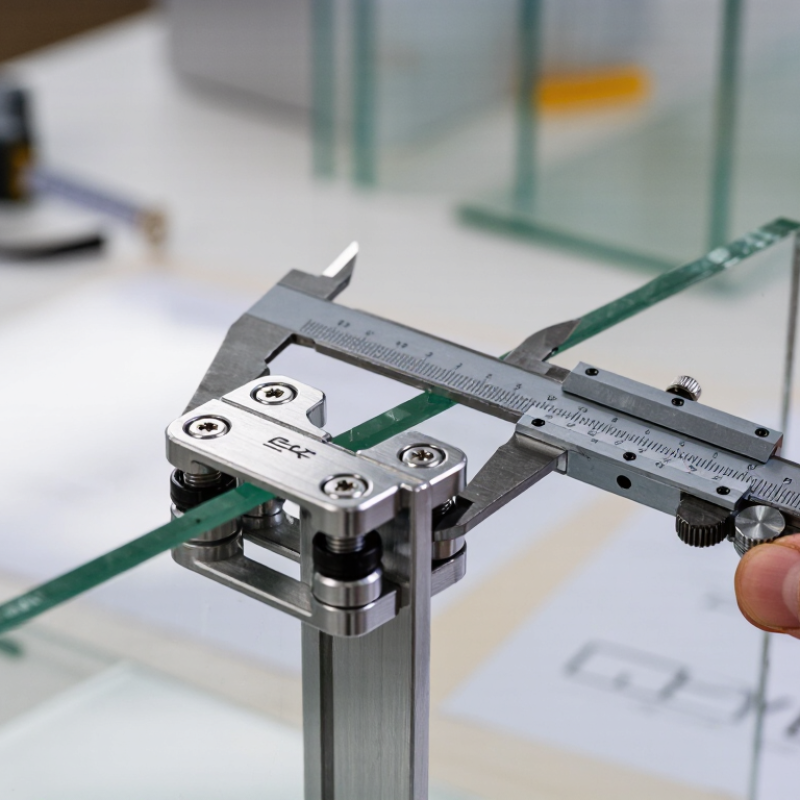
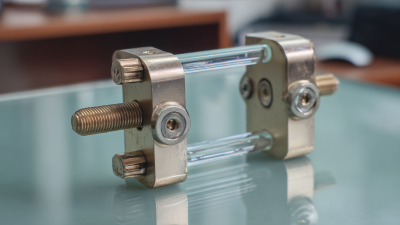
A glass L clamp is a compact fitting with two arms meeting at roughly a right angle. One arm grips the glass panel; the other attaches to a wall, frame, or adjoining surface, depending on the design. A small clamp can make a visible difference. Inside, rubber or polymer pads cushion the glass and help spread pressure across the contact area. A screw or fixing point holds the assembly in place. Small parts matter.
The clamp supports the panel by limiting movement at an edge or corner, not by making the glass stronger. Its capacity depends on the glass thickness, clamp geometry, fixing method, and strength of the mounting surface. Fit is not universal. A clamp that looks suitable may press unevenly or leave the panel loose if its pads or dimensions do not match. Check the product specifications and glass measurements before installation, and avoid tightening hardware until the glass is firmly seated. Excessive pressure can create stress concentrations and damage the edge. I would not assume that a snug fit alone proves the support is safe; a qualified installer can assess the load and mounting conditions, especially for large or overhead panels.
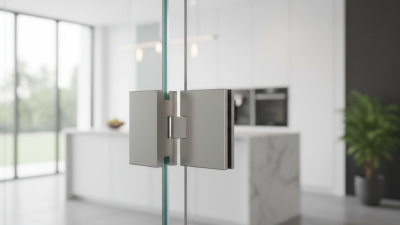
A glass L clamp is a fitting with two perpendicular sides, typically used to secure a glass panel to a wall, floor, or other supporting surface. The clamp holds the panel mechanically; suitable glass, fixings, and installation are essential for a safe assembly.
| Selection Dimension | What to Check | How It Supports the Glass | Practical Selection Guidance |
|---|---|---|---|
| Clamp shape and orientation | Confirm that the fitting is an L-shaped clamp and check which side attaches to the supporting surface. | Its perpendicular faces connect the glass edge or face to a wall, floor, or similar surface. | Match the clamp orientation to the installation drawing and the direction in which the panel must be held. |
| Glass thickness | Measure the actual panel thickness and compare it with the clamp’s stated glass-thickness range. | A correctly sized clamp and its compatible pads grip the panel without relying on an oversized or loose fit. | Clamps are sold for different thicknesses, commonly including 8 mm, 10 mm, and 12 mm options. These are examples, not universal specifications; confirm the exact product range. |
| Glass type and condition | Check the glass specification, edge finish, and any holes or cut-outs required by the fitting. | Compatible hardware distributes contact at the intended locations and avoids unintended pressure on vulnerable areas. | Use glass and hardware specified for the application. Do not drill, cut, or modify installed tempered glass; consult a qualified glass professional. |
| Contact pads or liners | Check that the supplied pads are present, correctly positioned, and suitable for the clamp and glass. | Pads separate the glass from the metal, help provide grip, and reduce direct contact that could cause damage. | Do not substitute improvised packing materials. Follow the fitting instructions for pad placement and tightening. |
| Fixing surface and fasteners | Identify the substrate—such as timber, masonry, or metal—and select compatible fasteners and anchors. | The clamp transfers forces from the panel into the supporting structure through its mounting points. | Fastener choice depends on the substrate and installation conditions. A secure clamp cannot compensate for a weak or unsuitable support. |
| Clamp spacing and quantity | Check the panel size, layout, number of support points, and spacing specified for the installation. | Appropriately placed clamps help restrain the panel and distribute support across the assembly. | Do not determine spacing from appearance alone. Follow the system design or obtain guidance from a qualified installer or engineer. |
| Material and environment | Consider indoor or outdoor exposure, moisture, cleaning chemicals, and corrosion requirements. | The clamp’s material and finish affect its durability at the fixing point. | Choose a material and finish rated for the environment, especially in wet or coastal locations; maintain it according to its instructions. |
| Load rating and intended use | Look for documented limits and an application approval covering the panel and installation arrangement. | The rating, where provided, applies to specified conditions—not automatically to every glass size, substrate, or fixing layout. | Do not infer load capacity from clamp dimensions or appearance. Use verified product data and professional design where safety is critical. |
| Installation and tightening | Follow the specified mounting sequence, alignment method, and tightening instructions. | Correct installation helps the clamp hold the panel as intended while avoiding uneven pressure. | Keep glass edges clear of hard contact with the clamp body, and do not overtighten. Recheck alignment and fixings as directed. |
Important: Exact dimensions, compatible glass thicknesses, materials, and load limits vary by clamp design. Check the fitting’s technical documentation and applicable building requirements before installation.